

My sister and I love crafting together so when she asked me if I wanted to help with her disposable camera craft, of course I said yes! She is on Student Government at her high school and wanted to have disposable cameras at Senior Prom for the students to take pictures with! Lately, Polaroids and disposable cameras have become so popular. It’s funny that technology is always changing and our cell phones can take amazing pictures, but people still like to use old cameras.
This craft is relatively simple and only requires a few supplies. The supplies you need are listed below!
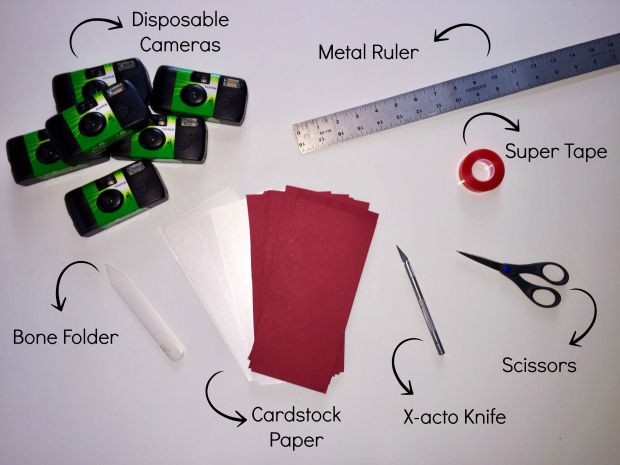
- Disposable cameras– my sister bought a 20 pack on Amazon
- Bone Folder– to make perfect creases
- Cardstock Paper- we used shimmery white and red
- Metal Ruler
- Super Tape– a super strong double sided tape to make sure the cardstock paper does not pop open off the camera
- Scissors– preferably smaller ones to make it easier for detailed cutting
- X-acto Knife
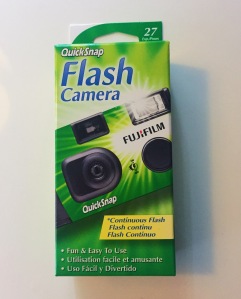
First, purchase the disposable cameras. The amount you buy will depend on the size of your party. My sisters prom had about 20 tables of attendees so she decided to buy 20. I think number of tables is a good way to estimate how many cameras you need and you could place a camera on each table! My sister bought a pack of 20 FujiFilm cameras on Amazon for $100. $5 each is a great deal and the fast shipping is perfect for a last-minute project.
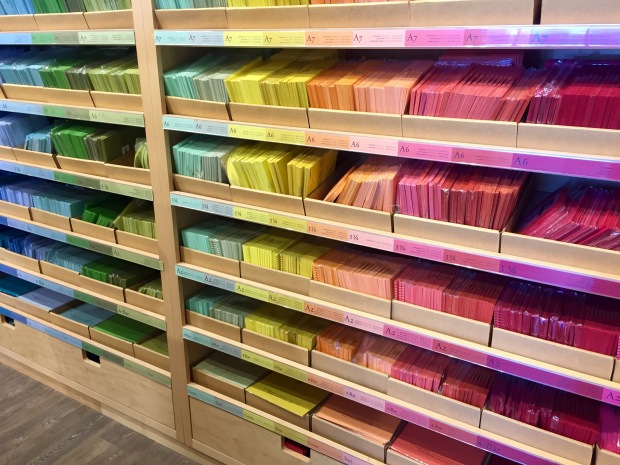
We went to Paper Source to get the rest of our craft supplies, most importantly the paper! I highly recommend going to a Paper Source for advice and help before attempting a craft. The staff is always so helpful and will demonstrate how to use certain tools or supplies! They showed us the type of paper that would be best for this craft that would be least likely to fray when folded but not to thick that it would pop off the camera.


To make a stencil, carefully peel of the camera covering and tape it down to your cardstock paper. Use an x-acto knife to make precise cuts. Peel off the camera covering and you are left with a perfect replica in cardstock paper. Wrap the cardstock around the camera in its place to make light creases.


Using the ruler make straight crease lines where the paper will fold on the camera. Do this to the top and bottom creases.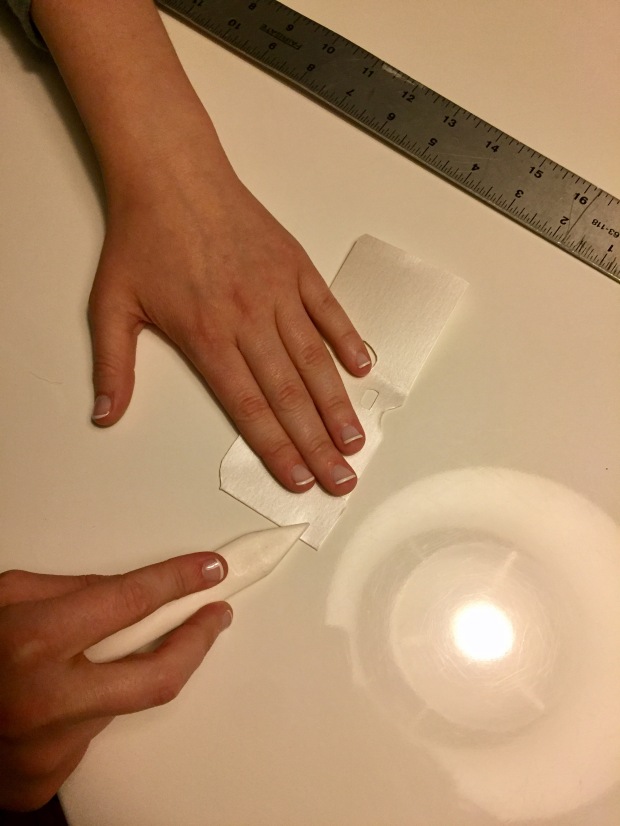
Use the bone folder to press down on the cardstock and make the perfect crease. The employees at the Paper Source suggested we purchase this tool to ensure the paper wouldn’t rip or pop off the camera. Having perfect creases made the cardstock paper fit perfectly on the cameras edges.
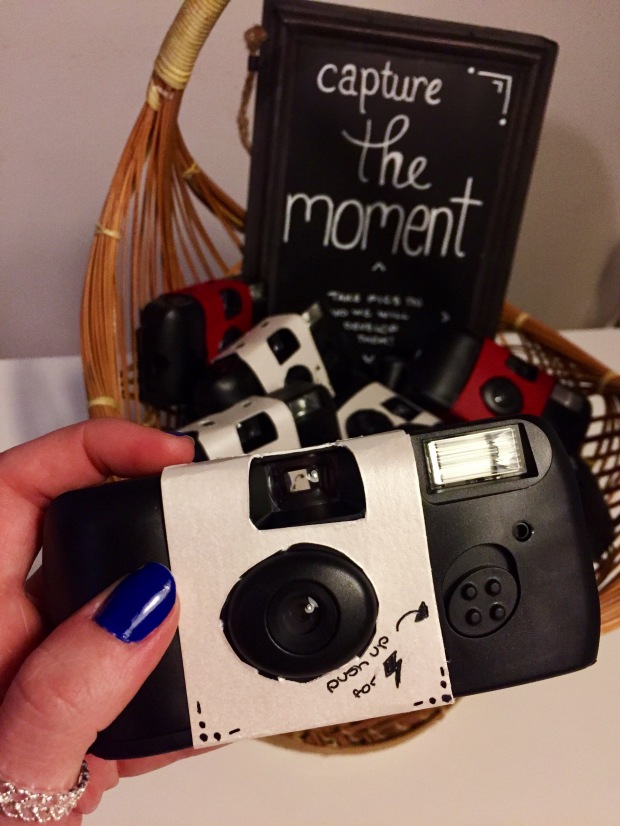
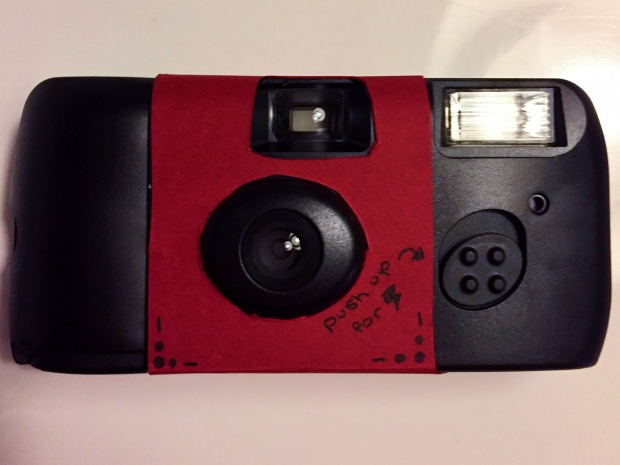
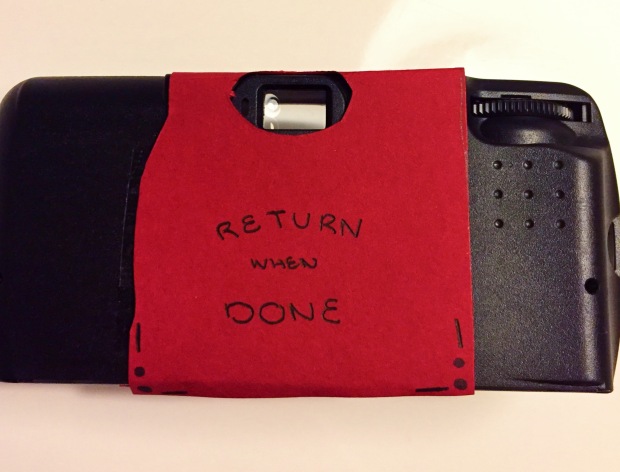
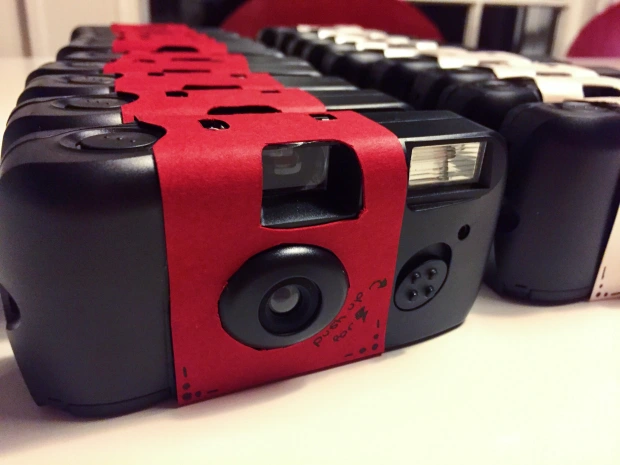
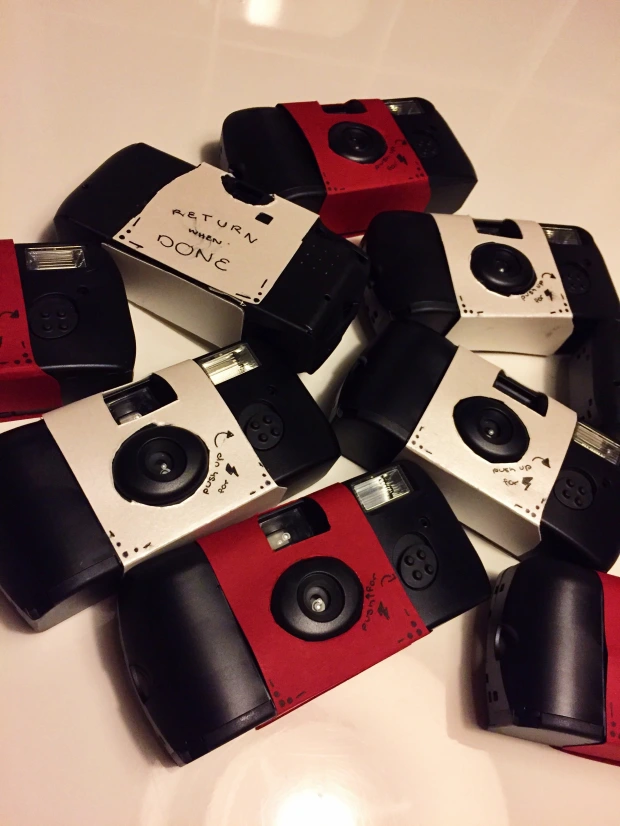
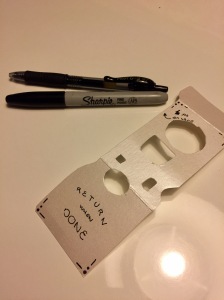 Now for the fun part! You can decorate your disposable camera however you would like. We used a Pilot G2-07 pen and a black sharpie. My sister knew it was important to write instructions on where to return the cameras because her classmates would be taking the cameras around the prom venue. On the back she wrote “Return when done”. Also, since most people haven’t used a disposable camera for a long time, it is helpful to point out where the flash is by writing “Push up for flash”. If the guests do not turn on the flash before they snap a picture it may not look the best when developed. My sister added some cute dots and lines on the corners for decoration.


To adhere the paper covering to the camera we used Super tape. This was another recommendation from the employees at Paper Source. It is an extremely strong double-sided tape that is perfect for glitter paper or harder materials. Simple tape the surface of the camera and place your covering down!
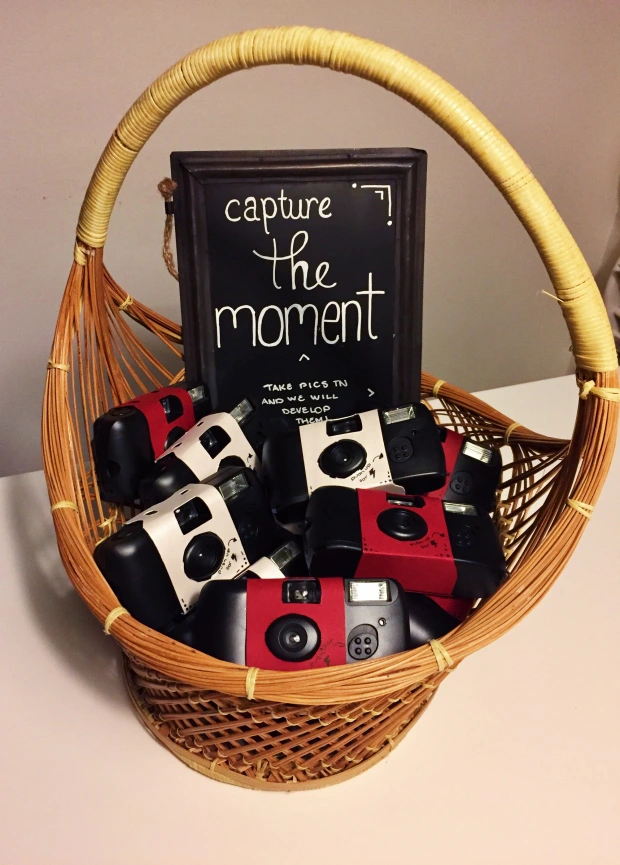
To display them at prom we found a cute basket we had in our basement. You can find similar ones at any craft store!
")

To complete the display we got this simple chalkboard at The Paper Source with a chalkboard pen to write the message. This is the perfect way to attract guests to the camera station and show where they need to leave them when done.
My sister got the film developed at Hunts getting printed out copies as well as a digital CD so all the students could access the pictures online. The cameras all came out great and were a huge hit at prom!
